Research-led product guide
WOLFBOX G900 Pro Mirror Dash Cam: the answer in context
A successful WOLFBOX G900 Pro installation is a vehicle-fit project before it is a settings project. Measure the 12-inch mirror display against the factory mirror, visors, sensors, and driver sight line; choose an intentional rear-camera position; trace the complete cable route; and decide whether parking monitoring justifies a compatible hardwire installation. This guide turns those checks into a pre-purchase and first-day plan without assuming one universal route works for every sedan, SUV, hatchback, pickup, or camper.
- Display fit
- 12-inch mirror format; check both visors, mirror controls, sensors, and front-camera clearance
- Rear-cable planning
- Current official bundle information documents a 20-foot rear-camera cable
- Long vehicles
- The current truck bundle lists an additional 10-foot extension; verify the exact package
- Parking monitoring
- Requires compatible hardwire equipment and a safe, vehicle-appropriate installation
- Storage and bundle
- Current official bundles do not list a microSD card; follow the exact unit manual for compatibility
Our view is based on published specifications, manufacturer documentation, and category research. Where we have not performed hands-on testing, we do not imply that we have.
Before ordering
Begin with the mirror, the driver’s sight line, and the entire vehicle—not the specification table
Start in the driver’s seat with the factory mirror in its normal position. The G900 Pro uses a 12-inch display that straps over that mirror, so measure the mirror body and then move both sun visors through their full travel. Check the mirror stem, automatic-dimming sensor, garage-door controls, reading lights, overhead console, forward-camera housing, and any buttons on or behind the original mirror. The front lens also needs a clean windshield view after the display is centered. A screen that technically attaches but blocks a visor, control, required sensor, or safe view is not a compatible installation.
Next, sit in every normal driving position and consider whether the added width or reflected surface changes visibility. Local mounting rules and the vehicle manual still apply. If the vehicle uses cameras or sensors near the mirror for driver-assistance systems, do not cover them or route wiring across their service area. A professional installer or the vehicle dealer is the safer path when the mirror contains integrated electronics, the windshield area is crowded, or trim removal could affect safety equipment.
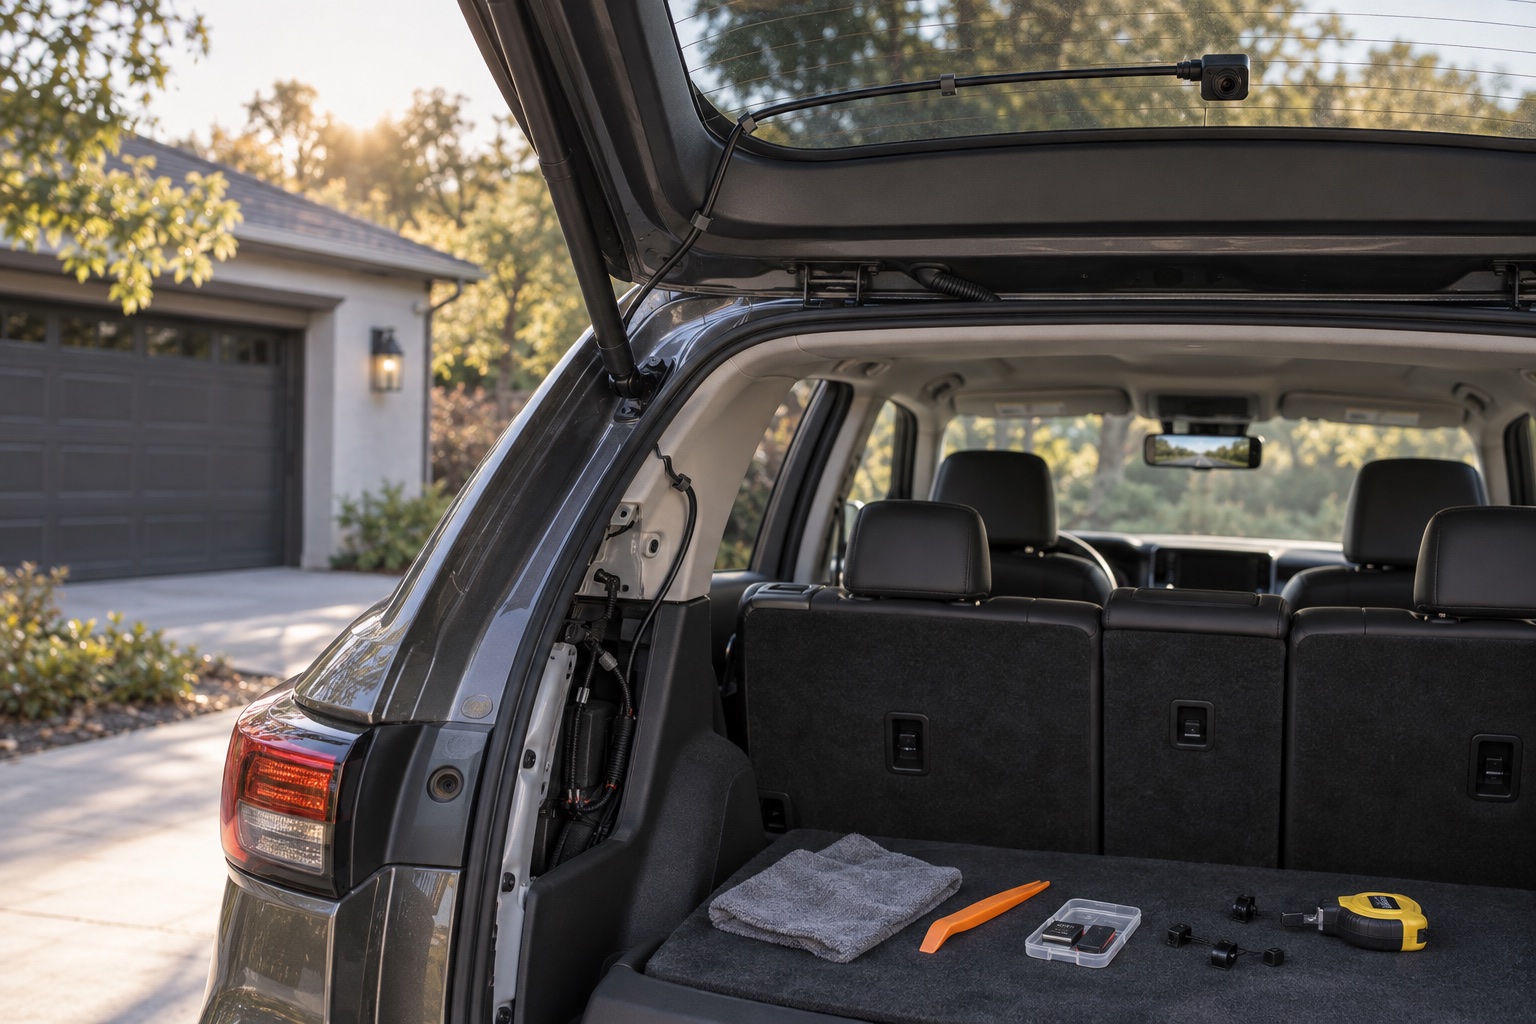
Finish the preflight at the rear of the vehicle. Decide where the camera could see the road without being blocked by cargo, a spare tire, camper shell, wiper sweep, spoiler, heavy tint, defroster lines, or a regularly opened hatch. Then measure the route rather than the straight-line distance. The current official page documents a 20-foot rear-camera cable, and the listed truck bundle adds a 10-foot extension, but package contents can change. Confirm the exact bundle and leave enough length for turns, hinges, service loops, and future trim access.
- Measure with both sun visors moving
- Check factory sensors and mirror controls
- Confirm the front lens can clear the mirror housing
- Measure the routed cable path, not bumper-to-mirror distance
Rear-camera placement
Interior and exterior mounts solve different visibility problems
An interior rear-glass position protects the camera and wiring from weather and often simplifies service. It works best when the glass stays reasonably clear, the wiper covers the camera’s viewing area, tint is not excessively dark, and luggage does not rise into the frame. Before fixing the mount, hold the camera at candidate positions and inspect the live image with the hatch closed, normal cargo loaded, and the vehicle on level ground. Avoid placing the lens directly behind a thick defroster line or a dot-matrix border that prevents stable adhesion.
An exterior position can be better for a pickup, camper, van, or any vehicle whose cabin or rear glass blocks the desired view. It may also reduce the effect of tint and cabin reflections. The tradeoffs are weather exposure, road spray, cleaning, fastening, cable entry, corrosion protection, and the possibility that a plate frame, tailgate, spare tire, hitch load, or open hatch changes the view. Use only a mounting method and location allowed by the vehicle and current WOLFBOX instructions; do not drill into an unknown panel or wiring cavity simply to obtain a centered image.
Treat the live rear view and recorded rear view as related but distinct jobs. A high-mounted camera can provide useful traffic context, while a low mounting point may emphasize the bumper or parking area. Reversing guidelines are an aid, not a substitute for mirrors, direct checks, and the vehicle’s original safety systems. After mounting, check the horizon, adjacent lanes, close obstacles, night glare, rain behavior, and the view with typical cargo before considering the position final.
- Interior mount: easier weather protection, dependent on glass and cargo
- Exterior mount: clearer path around blocked cabins, more environmental exposure
- Test the live view before permanent fastening
- Keep required mirrors and direct visual checks in the driving routine
Cable routing
A safe route avoids airbags, hinges, sharp edges, heat, and future service points
Lay out the full system before tucking away a single cable. Identify the mirror-unit power lead, rear-camera cable, GPS hardware, reverse-trigger lead if used, and hardwire connections if parking monitoring is planned. Test the camera and rear feed temporarily first. This can reveal a defective component, incompatible card, wrong cable direction, or insufficient length before trim is removed. Keep connectors accessible until the system has recorded and played back clips from both channels.
Do not route a cable across the deployment path of a curtain, pillar, seat, or steering-wheel airbag. A wire hidden behind trim is not automatically safe; its position relative to the airbag and retaining clips matters. Avoid pinching the cable under metal edges, seat tracks, hatch latches, or weather seals. At a liftgate or tailgate, use the vehicle’s appropriate protected passage only when the route can move through every opening cycle without pulling, bending sharply, or rubbing. Leave small service loops where components need to move or be removed.
Keep the route understandable for the next repair. Windshield replacement, headliner work, hatch service, and interior trim removal should not require technicians to guess where an added wire is trapped. Use removable securing methods suitable for the location, label non-obvious connections, and photograph the route before closing trim. If safe airbag clearance or panel removal is uncertain, stop and use an installer familiar with that vehicle platform. The cost of professional routing belongs in the total system budget.
- Bench-test both channels before hiding cables
- Never cross an airbag deployment zone
- Cycle every hatch, visor, seat, and mirror adjustment before closing trim
- Preserve access for windshield and hatch service
Power and parking monitoring
Decide between driving-only power and hardwired parking coverage before installation day
For ordinary driving recording, use the current supplied power arrangement and confirm that the camera starts and stops as intended with the vehicle. Parking monitoring is a separate electrical decision. WOLFBOX documents it with compatible hardwire equipment, which typically requires constant power, switched power, and a proper ground, but fuse layouts and vehicle behavior vary. Do not select circuits from a generic diagram or an online comment when the vehicle manual, installer data, or a tested circuit identifies the correct path.
Battery protection matters because a camera left powered while parked draws from a finite source. Confirm the exact hardwire kit, cutoff behavior, parking mode, vehicle battery condition, and any restrictions for hybrids, EVs, stop-start systems, intelligent battery sensors, or vehicles that monitor sleep-state current. The cutoff shown on one product page should not be treated as universal across every kit revision. If those details are unclear, driving-only power is the safer initial setup until a qualified installer can verify the hardwire plan.
The optional reverse-trigger connection also deserves vehicle-specific care. It can change the display when reverse is selected, but it is not required for ordinary front-and-rear recording and it does not replace the factory reversing camera or direct observation. Avoid tapping an unknown lamp circuit, especially on vehicles with monitored lighting or multiplexed electronics. After any electrical work, confirm that warning lights, radio, driver-assistance features, locks, hatch operation, and vehicle sleep behavior remain normal.
- Parking mode is not enabled by the product name alone
- Match the hardwire kit to the exact camera and vehicle
- Do not improvise around unknown fuse or reverse-light circuits
- Use professional installation when battery management or vehicle electronics are unfamiliar
First-day setup
Verify recording, timestamps, app access, saved files, and the real driving view before relying on the system
Install storage that follows the manual for the exact unit. Current official pages show conflicting capacity guidance across regions and comparison tables, so capacity alone is not enough; card type, endurance, formatting, and firmware revision also matter. Current official bundle descriptions do not list a microSD card, so confirm what is included before delivery. Format the card as directed, start both channels, record several minutes, and play back files from the front and rear before closing the installation.
Set the time, time zone, display orientation, recording loop, sensitivity, audio preference, and GPS behavior intentionally. Pair the current WOLFBOX app only through the documented workflow, then practice finding and saving one clip. Wi-Fi access is a local file-and-control convenience, not proof of automatic cloud backup. For an important incident, protect the clip and make a separate copy rather than assuming the camera will retain it indefinitely during loop recording.
Complete a daylight and night check on a familiar route. Look for a level horizon, a useful rear view, excessive dashboard reflection, lens obstruction, loose trim, connector movement, cable noise, and screen placement that distracts or blocks controls. Then recheck the system after several days, after the first hot or cold weather, and after any windshield, battery, hatch, or trim service. A maintained installation is more dependable than a feature-rich installation that is never verified.
- Record and play back front and rear files
- Confirm date, time, GPS, and camera angles
- Practice saving one clip through the actual workflow
- Reinspect mounts, cables, and recording status after the first week
Frequently asked questions
What buyers ask about WOLFBOX G900 Pro Mirror Dash Cam
Will the WOLFBOX G900 Pro fit every car?
No. Its 12-inch mirror format requires vehicle-specific checks for the factory mirror, visors, buttons, sensors, forward-camera housing, driver sight line, rear-camera position, and cable length.
Should the rear camera be installed inside or outside?
Inside is more protected but depends on clean glass, tint, defroster lines, and cargo clearance. Outside can work around a blocked rear cabin but adds weather, cleaning, mounting, and cable-entry considerations.
Is a hardwire kit required for normal recording?
Not for the ordinary driving-power setup described by WOLFBOX. A compatible hardwire arrangement is required when parking monitoring is part of the installation plan. Confirm the exact kit and vehicle requirements.
Does the G900 Pro include a memory card?
The current official bundle descriptions reviewed for this guide do not list a microSD card. Verify the exact seller bundle and follow the manual for card type, capacity, formatting, and maintenance.
What if the rear-camera cable is too short for a truck or camper?
Measure the routed path before buying. The current official page documents a 20-foot cable and lists a truck bundle with a 10-foot extension, but contents can change. Confirm the exact package and connector compatibility.
Primary sources checked
Official documentation used for this guide
Specifications, software, bundles, warranties, and compatibility can change. These primary sources were checked while preparing this page; confirm the current information for the exact model before purchase.
Product links